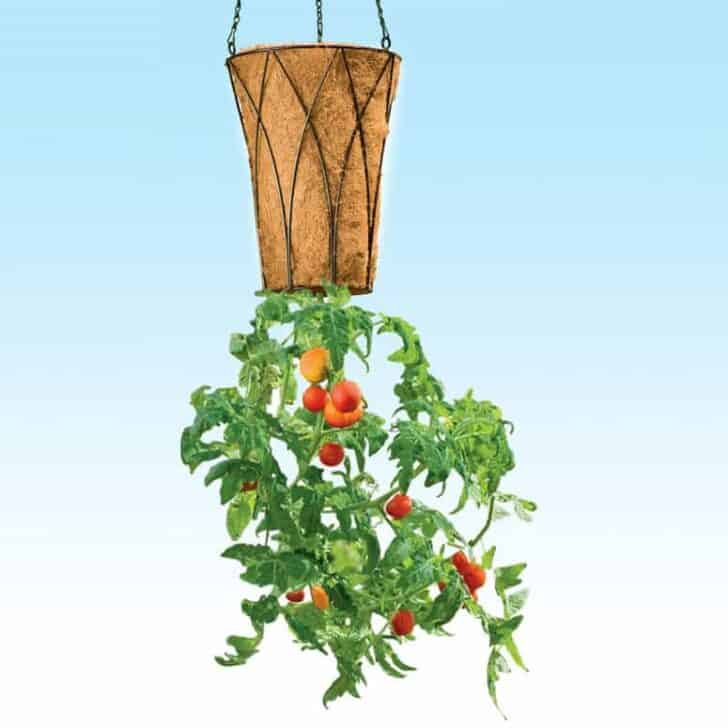
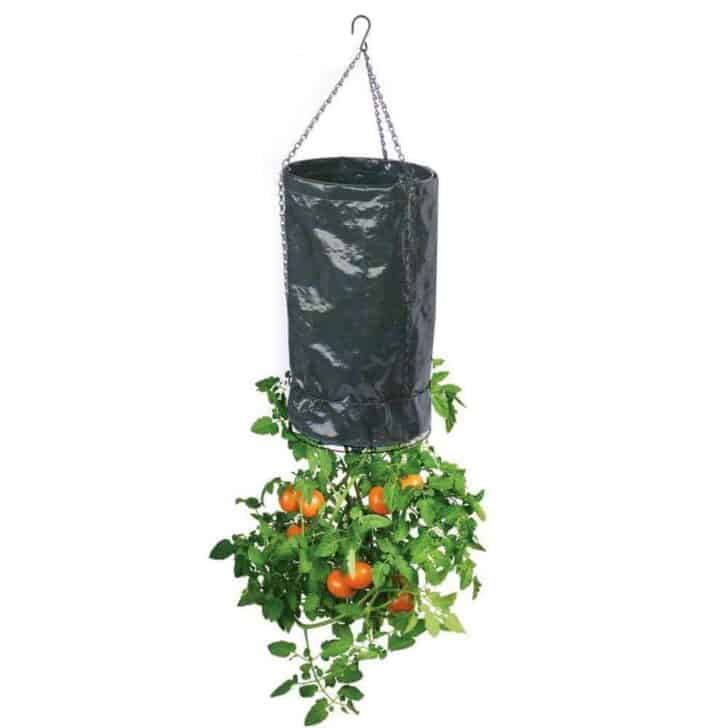
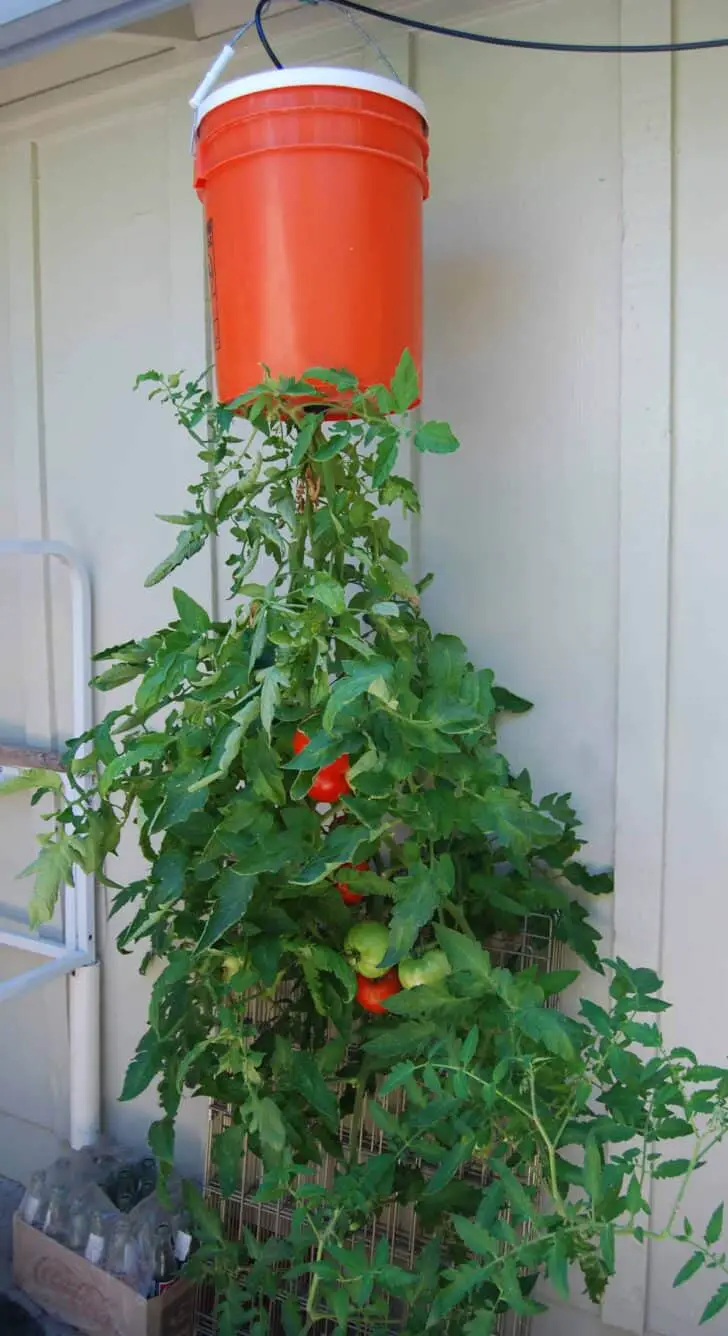
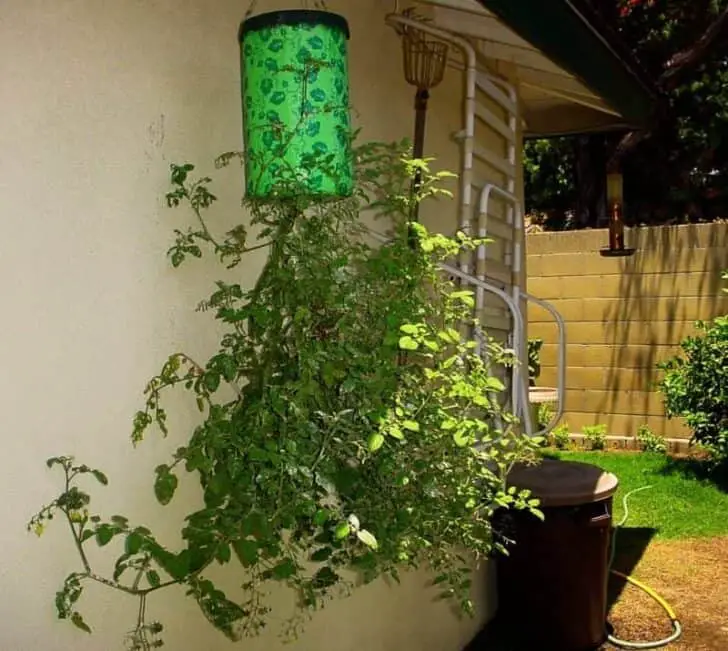
You’d like to homegrown tomatoes but you’re short on space? Then this unusual growing method is for you! It’s proven to be very effective and if done properly can greatly increase the number of tomatoes you can grow in a limited space.

Here is how to proceed in 8 steps:
- Buy five-gallon plastic buckets. They are easy to find in local stores.
- Cut a three-inch hole in the bottom center. Then drill two 1/4” holes several inches down from the top edge of the bucket. These are for the chord that will hold the bucket up.
- Place several layers of newspaper in the bottom of the bucket and fill about half way with quality soil mix.
- Cut a length of 3/16” nylon cord about 4′ long and run it through the two holes you drilled in the bucket sides. This will be the support.
- Now lay the bucket on its side and cut a slit in the newspaper through the hole in the bottom of the bucket.
- Remove the tomato plant carefully from its container and insert between the slit into the bucket. The newspaper will help retain the soil until the plant is established.
- When the plant is securely in place you can hang the bucket and fill the rest of it with soil.
- Once the plant gets established you will need to water at least once a day, twice if it’s extremely hot and dry. A water-soluble fertilizer can be applied approximately every two weeks during the growing season.


And you can recycle your old pots into: 5 Clay Pot People with Flowers Ideas
Updated on 2024-04-17 - Images from Amazon API. Logos are trademarks of Amazon.com, Inc. or its affiliates. 1001Gardens is a participant in the Amazon Services LLC Associates Program, an affiliate advertising program designed to provide a means for sites to earn advertising fees by advertising and linking to Amazon.com.

I have some mobility issues due to OA so a garden growing on the ground is very difficult to care for and always seem to get away from me before the end of the growing season. This idea will not only look great but it will also make my garden more enjoyable to work around.
They will not grow straight down any more than they will grow straight vertically unless by attaching to a stick. I have used this technique this year and have found it successful but watering twice daily in hot weather has been necessary.
I tried this once but when I hung the established plant, everyone of them twisted to the side and curled up to the sun…. How do I keep this from happening.. How do you get them to hang straight down?
I tried growing tomatoes upside down last year. The plants were turning up toward the top of container. How can I prevent that from happening?
I had the same problem. Can you tell me if I am doing something wrong.
Being above ground they don’t retain moisture. I grew upside down tomatoes last year.. It was great.. Go ahead try them.. If you keep them watered you will not be disappointed they produce a lot of fruit!!
It’s mentioned that if you have limited space , does this mean like apartment space and how much sunlight is needed because it looks like a great idea
Fabulous idea but doesn’t the dioxin from the non food grade paint buckets leach into the produce? Tomatos are particularly good at picking up toxins.
If you buy food grade ones from a grocery store or a restaurant/bakery supply you will be okay. I only use those not the box hardware store ones
Can other vege’s be grown this way like squash?
Seems like they would be confined from growing good roots in the bucket. Any issues with that? Also how about getting too hot inside the plastic? Thanks. I love the idea.
can you please show how the cord holds the buckets? thanks