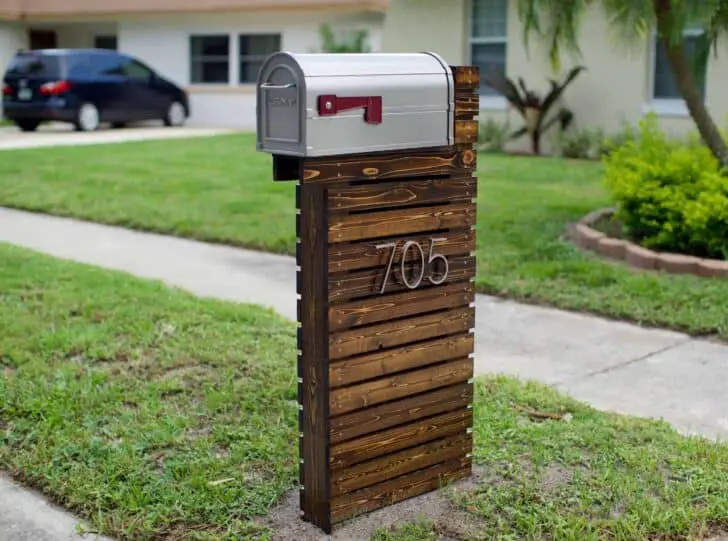
Create an arty wooden mailbox easily with this great tutorial. So simple and beautiful…

There you go! A beautiful wooden mailbox! But first, you have to complete the tutorial …
First, you need wood! Here, we have two 4×4 fence posts and four 1×3 cedar. You can use any outdoor wood you want.
Then, cut the Cedar boards into parts around 70cm long.
Next, refine all the wood part with a little sanding using an 80 grit.
Put the wooden boards in the position you want, the same as the final assembly.
Now the wood is ready to be stain, here with Minwax Dark Walnut.
You can use four coats to make it look like rich walnut.
Assemble the pieces of wood with the fence posts.
Use supports to keep the structure strong and stable.
First side.
Second one.
Laying out the numbers, choose the numbers according to your house…
Silver brushed nickel numbers are used in this example, to create a lovely contrast with the dark wood.
Finished and ready to stick in the ground, all you need is a new mailbox.

Finished wooden mailbox fixed in the ground with 30″ post spikes from Home Depot.
What hardware did you use for the assembly of wood slats to the posts? Thanks!
You didn’t mention the height of the 4×4s as they are different sizes. Or the size of the wood for under the mailbox